












Sewing Shirt #1Updated: August 19th, 2026
Created: December 31st, 20242025 Sewing my first 'proper' shirt
Time has come, so it seems, to fashion a shirt for my back. For over 50 years I have repaired my garments but only made a few.
Chronology:
1: Cut material for back and yoke | 2: Make the yoke then sew yoke to back ~ Page 1
3: Cut cloth for front panels and sew to yoke. Page 1 | 4: Sew panels for buttons. Page 2
5: Cut cloth for collar, make and attach. | 6: Cut material for cuffs and make.
7: Cut cloth for sleeves. | 8: Attach sleeve to shoulder, try fit ✘Page 2 .
9: Sew inner side of sleeve. Add to width | 10: Sew back and front edges adjacent sleeve.
April 13th Just about finished assembly, a few stitches on a cuff, the tail to be hemmed and button holes to be added. Oh! I may draw in the edges I had widened. See Page 7 for these last jobs.
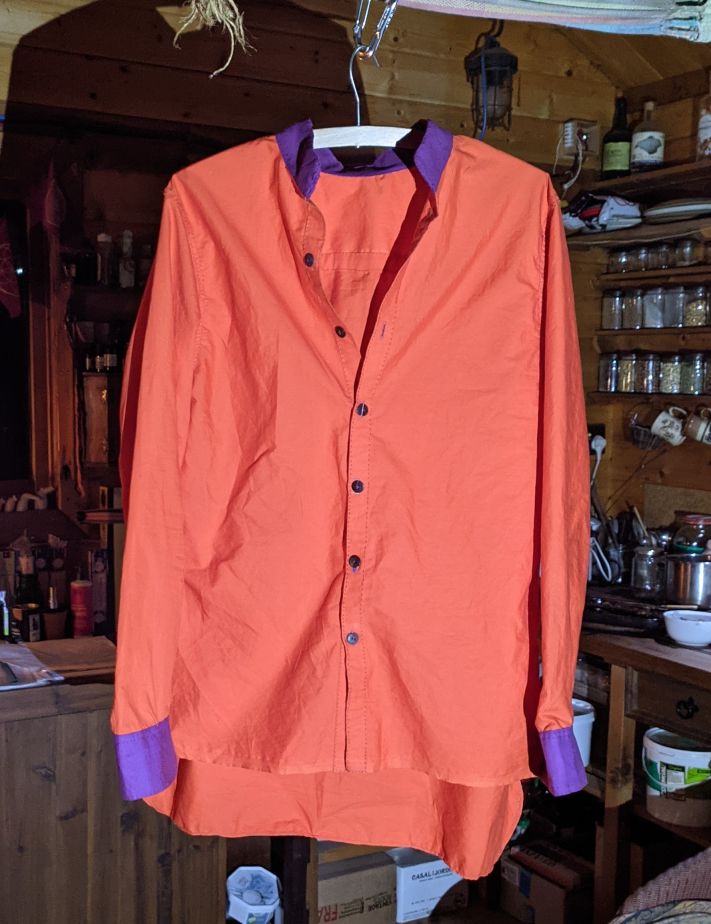
I have no fitting patterns and so am sketching from old rags that did fit, and using some orange organic cotton I bought from Cwmbran at some £6.95 a metre. I have other cloth bought years before but will try to make an orange shirt for the summer.
Update: Buying up remainder organic cotton from Cwmbran
1st Jan: Managed to sew the yoke to the back. I could have done it easier and a little tidier, but not bad for my first foray. The issue was deciding to make a yoke, why I'm don't really know but that was like the old shirt. It seems a double fabric to add durability around the back of the shoulder etc. where I could have just added a layer. But now I have, if it fits, a template for the whole back for a second shirt.


Page 5: Stitching | Page 6: Shirt Design | Page 7:Button holes | Page 8:Notes
 Printer Friendly Layout


